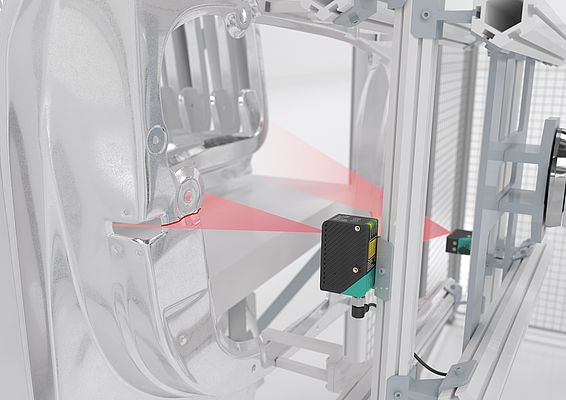
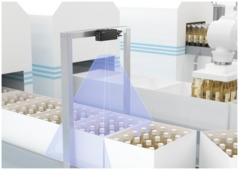
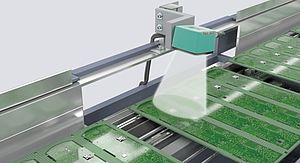
Whether testing components on populated PCBs in the electronics industry, positioning and aligning purchased parts correctly in mechanical engineering or objects on assembly lines, the light section method is ideal for any task that involves identifying shapes and height profiles, or detecting even the smallest deviation from references. However, until now it was very difficult for a normal user with no specialist knowledge to operate this type of system without lot of time and effort. This is because the "general purpose devices" that are typically available require intensive parameterization.
Use an Innovative Procedure with No Specialist Knowledge
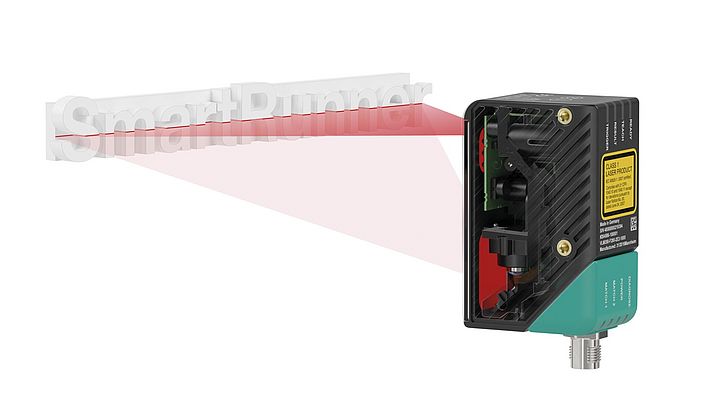
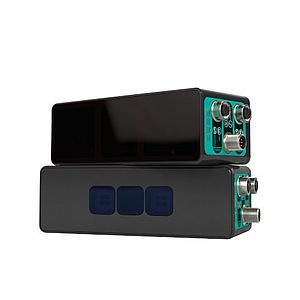
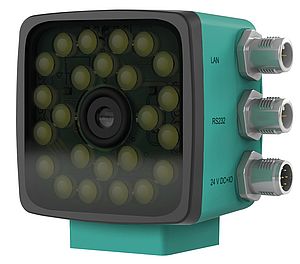
New perspectives for simple use of the highly precise light section method are now being introduced by equipment such as the SmartRunner Matcher from Pepperl+Fuchs. This equipment is based on a compact, camera-based light section sensor that combines both the evaluation process and the interfaces in one device. One of the features of the device is specially preconfigured firmware that enables it to specialize in extremely precise profile comparisons. The primary task of the user is merely to teach in the required reference profile using teach-in. This can be done at the touch of a button or by remote control using the interface. The Matcher handles the evaluation with no input from the user. This means that, after the trigger command, the SmartRunner always compares the current sample being read against the reference and displays information about whether they match via switching outputs.
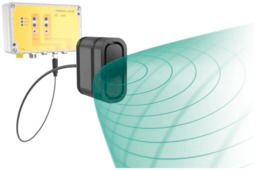
The main advantage of SmartRunner technology compared with standard vision sensors is the lack of dependence on object contrasts. A 2-D vision sensor therefore requires significant object contrasts for it to perform a viable evaluation. In contrast, the Matcher "sees" succinct shapes and edges, as the projection of a sharply defined laser-line enables clear and unique evaluations. This makes the system noticeably less sensitive to disruptive extraneous light, reflections, and the influence of various object colors and surfaces. As a result, the light section sensors can cover a wide range of applications—the sample applications mentioned at the beginning of this document demonstrate only a small section of the conceivable applications.
Options for Fine Adjustments
All essential tolerance and quality parameters can be adjusted on the SmartRunner Matcher. Plants and machines are naturally subject to constant changes due to wear, ageing and material fatigue. Before this eventually leads to actual defects and failures, typical industrial processes usually deteriorate gradually, meaning a conveyor belt runs less precisely, for example, or is affected by a certain amount of ripple. This makes it harder to precisely predict the position of the objects to be tested. Therefore, the user can conveniently define the ROI (Region of Interest) of the light section sensor on the display using the "Vision Configurator" standard operating software for vision sensors from Pepperl+Fuchs, as well as defining the shift tolerances in X and Y directions. The envelope, the median deviation from the taught-in profile, and the number of recognized pixels in the envelope are also adjustable. This means that, as well as movements and shifts from the reference, the Matcher also tolerates deviations regarding the brightness, color, and reflectiveness; for example, from production variations. Finely adjusting these parameters can achieve optimum recognition behavior for the respective process.
An Expanding Device Family
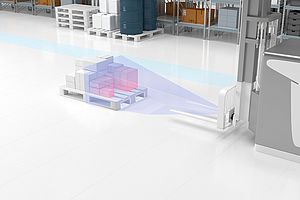
In addition to the Matcher, the SmartRunner family also currently includes the SmartRunner "Detector." This light section sensor comes with firmware that monitors the taught-in scene for the presence of foreign bodies. The focus of the Detector is on machine protection and securing essentially important sections of the plant, such as expensive lenses, precision equipment, etc. It detects even the smallest unauthorized parts, overlapping, and overhangs, and is highly reliable when working, as the background is also evaluated. The size of the objects to be detected is freely definable. The Detector reliably detects objects with a minimum size of 0.25 mm in a trapeze-shaped measuring range with a width of 350 mm at a maximum range of 700 mm. Other specialized light section sensors from the device family are currently under development and are to follow.
In-Built Lighting for Capturing Images
All SmartRunner devices have powerful LED lighting, which enables them to capture images—just like ordinary vision sensors. As well as being valuable for troubleshooting, quality assurance and documentation, it means the people responsible for the system can also often avoid having to travel from the control room to the machine. In addition, SmartRunner devices are equipped with a data matrix decoder that enables the devices to be parameterized using data matrix control codes quickly without a PC. Several devices operating at once can also be set up quickly. Overall, the light section sensors are designed so that they can be integrated easily into existing or new plants, using Plug&Play together with their switching outputs, the trigger input and the option of a RS485 bus connection. Mechanical installation is also straightforward thanks to its IP67 degree of protection, compact dimensions of 99.1 mm x 55 mm x 38 mm, and rotatable connection.
That makes the SmartRunner an excellent choice for numerous detection tasks in factory automation. With the combination of a light section and 2-D vision sensor, the compact Plug&Play sensors transform complex data into switching signals that are easy to process. They are particularly valuable when highly precise profile comparisons are necessary, or when sensitive machine areas require protection from even the smallest of foreign bodies, overlapping, etc.
