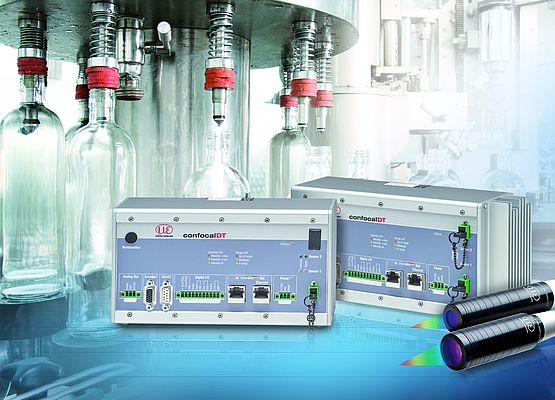
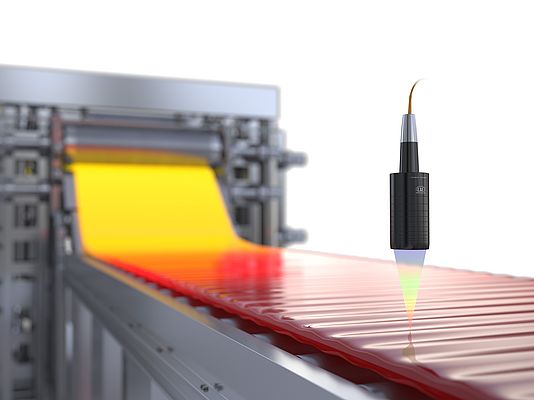
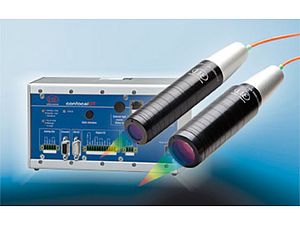
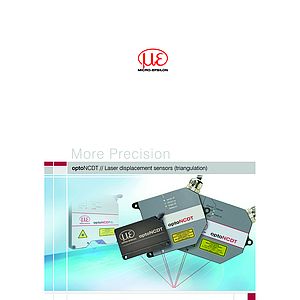
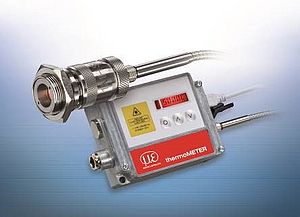
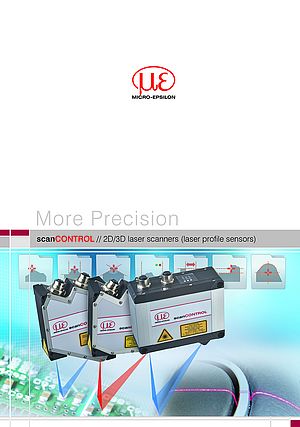
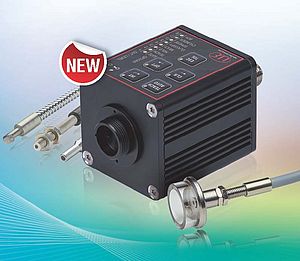
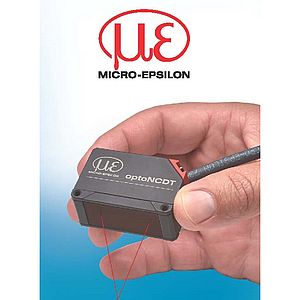
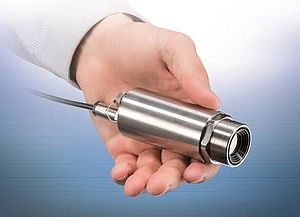
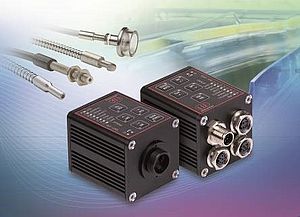
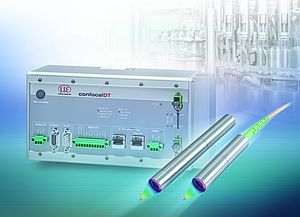
Modern sensor technology from Micro-Epsilon enables accurate measurements of objects with different surfaces. The surface properties and material of the target object have almost no influence on measurement accuracy. High precision measurements are possible on reflecting surfaces such as high-gloss or polished metals and liquids, on matt surfaces such as plastics and black rubber, as well as on transparent materials such as glass and plastic plates. The extremely small measurement spot which, depending on the system, is only a few µm, enables the measurement of e.g. IC pins on PCBs, bonding wire and small contours of mechanical parts. Suitable for dynamic measurement tasks, the confocalDT 2471 HS is specially designed for high speed processes and is, at 70kHz, the fastest, confocal measurement system in the world. It is suitable for inline measurements with high dynamics, as required by the glass industry for example. Data is generally evaluated in real time, enabling fast intervention measures in production e.g. via EtherCAT. The automatic control of exposure time enables high speed measurements on various, changing surfaces, as the system automatically controls the line exposure time and adapts very quickly to different reflecting surfaces. This system enables measurements on diffuse and directly reflecting surfaces without having to change the installation arrangement. Even with tilted objects, high precision measurements are possible. These passive sensors are flexible in use, do not transfer any heat onto the measurement object and are available as special vacuum versions. The axial beam path avoids shadowing effects, enabling measurements even in sleeves and recesses. Special sensors with a 90° beam path are available to measure diameter and dimensional accuracy of boreholes. boreCONTROL is specially designed for the inspection of small boreholes. The configuration of the controller and the sensors is performed without additional software using a user-friendly web interface. The web interface can be accessed via Ethernet and provides set up and configuration options. For thickness measurements and multilayer measurements, materials are stored in a comprehensive and individually expandable materials database. Interfaces are EtherCAT, Ethernet, RS422 and Analog Out.
High precision inspection of finest surface structures
Confocal chromatic measurement systems are used for displacement as well as distance measurements and intensity evaluation. Surface properties of the smallest precision parts can be determined to micrometer accuracy using this method. For example, scratches can be reliably detected. Based on the determination of the distance, surface topographies of objects can be performed. Applying both methods is a speciality of Micro-Epsilon. X. In addition, the diameter, roundness, surface structure and roughness of cylinder liners can be measured using confocal chromatic sensors. When a measurement object consists of different materials such as metals and plastics, the reflectivity highlights the differences in the materials although the distance values do not change. Unevenness and scratches influence the degree of reflectance and become visible. The system detects the changes in the signal intensity and produces an exact image of the target and its fine structures.
Specialist in container glass production
The confocal chromatic measuring principle enables precise, one-sided thickness measurements of transparent materials such as glass and is largely insensitive to tilting. The material thickness is detected to micrometer accuracy using just one single sensor. The controller provides an editable, expandable materials database. The thickness calibration feature enables constant thickness measurements across the entire measuring range. Material-specific parameters such as refractive indexes can be adapted using the web interface. Multi-peak measurements enable the evaluation of up to 5 layers, which is how multi-layer objects such as laminated glass can be measured reliably.
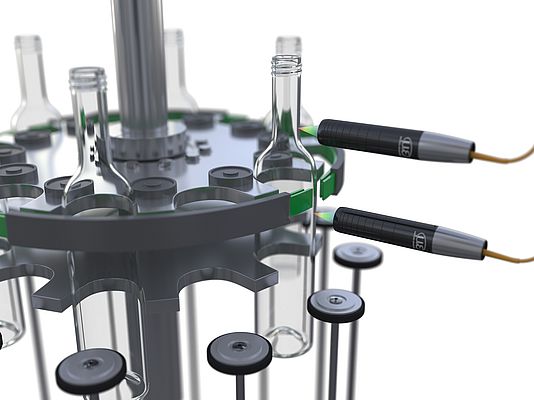
In container glass production, wall thickness and roundness of the bottles are crucial quality features. This is why these parameters must be 100 % inspected. Any faulty containers are immediately rejected and returned to the glass melt.
Due to high processing speeds and in order to prevent the bottles from being damaged, a fast, non-contact measurement procedure is required. The confocal chromatic confocalDT 2422 dual-channel measurement system from Micro-Epsilon is ideally suited to this measurement task. The system measures synchronously on two points. Data is output in real time via an EtherCAT interface. The thickness calibration feature enables precise thickness measurements across the entire measuring range of the sensor. Automatic exposure control allows stable measurements regardless of the glass color.
Display assembly gap and thickness measurement of multilayer transparent material
Laminated glass, solar cells, flat screens and smartphone displays present a huge challenge for measurement technology as they consist of several layers and different transparent materials. The exact thickness of each layer and the air gap between those layers must be determined in order to ensure high quality. Due to the high cycle rates involved, the measurements have to be performed quickly and precisely. After the assembly process e.g. in smartphone production, it is important to inspect the mounting tolerances of the components in order to achieve continuous quality in all production batches. Miniaturization and increased production speeds together with rising economic efficiency are the determining factors in the electronics industry. Quality, function and touch-screen communications of the final product require reliable measurement and inspection procedures in every manufacturing stage. When manufacturing multi-layer, laminated and curved glass for airplanes, automotive and architectural applications, precise thickness measurement of each layer is important. Confocal sensors master these tasks. If the curvature of the adjacent layers does not comply with the specifications, there is a risk of increased stress which might lead to deficiencies or delamination of the glass. Compact, high speed and easy to integrate sensors from Micro-Epsilon ensure highest reliability in almost any area where high precision is expected - from machine monitoring to fully automatic quality control of the final product.
