If machines fail or if production has to be interrupted because of defective components in a system, this has far-reaching financial consequences for a company, because unexpected downtimes cause a drop in the productivity and profitability of the company. If overload or other damage causes a fire, then the staff in a production site are also placed in danger. For these reasons, preventive maintenance and the regular servicing of machines are of central significance in industrial maintenance. Reliable and fast servicing methods are indispensible with regard to this.
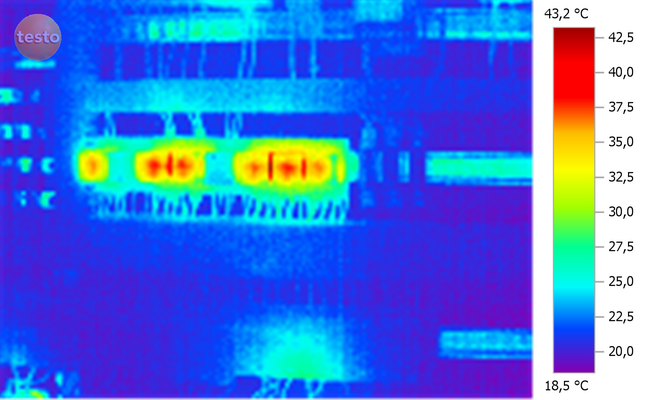
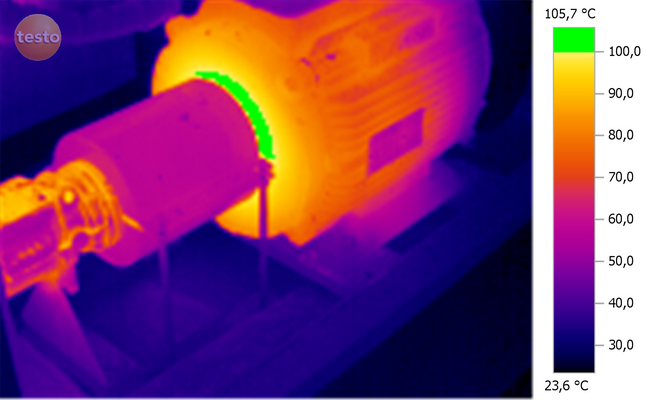
Thermography provides an economically attractive method of maintenance. Damaged or endangered electrical and mechanical components can be diagnosed by their thermal properties. If a conductor, a cable or a fuse is defective, or if individual components fail, an increased resistance is created, causing an atypical heat development. Friction, incorrect adjustment, play in the components or lack of symmetry also lead to an increased heat development. Conspicuous changes in the thermal quality of individual components function as indicators for potential or actual defects. Not only existing faults, but also potential sources of error and danger can be directly and accurately diagnosed using thermography.
Testing by thermographic measurement has considerable advantages over alternative measurement procedures. Foremost among these is the possibility of maintenance on an electrical system and its components during operation, i.e. without interrupting operation and without influencing the measurement object. Cost-intensive downtimes and production loss can thus be avoided. As a non-contact measurement method, thermography also allows measurement in inaccessible places. This way, potential sources of error can be diagnosed before failures or fires can occur. Finally, thermographic images provide a reliable, visual possibility for the documentation of faults, as well as a long-term timeline comparison of the status of a system.
Areas Of Application
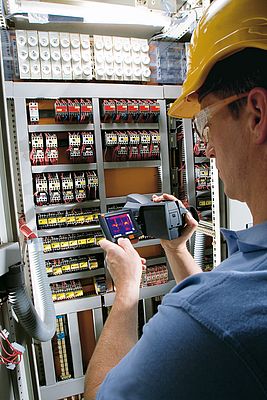
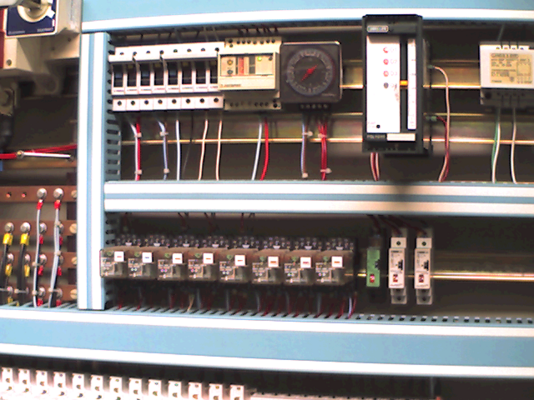
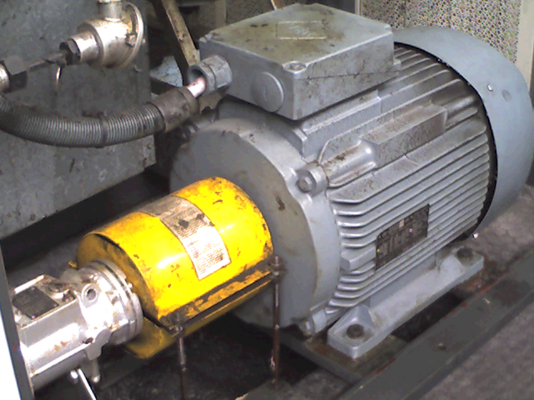
Thermographic measurement methods are used in many different areas of application. In electrical systems, infrared measurements are possible at all voltage levels. For example, switch boxes, distributors, cables and wires, fuses, motors and other components in low voltage systems can be tested using the thermographic measurement procedure, but also means of production in medium, high or highest voltage systems (outdoor switchgear). The diagnosis of defective wiring or fuses, loose screw or clamp connections, overloaded switches or defective insulation in a switching cabinet is directly and accurately possible.
Application Phases And Maintenance Intervals
In order to minimize the risk of production downtimes or fire, components or systems should be checked regularly. Regular maintenance according to a fixed inspection route is recommended. The interval of necessary maintenance is dependent on a number of different factors, among others the electrical load of individual system components and the age and general condition of the system. Guidelines are provided, however, by NETA (InterNational Electrical Testing Association), who recommend, for example, one to two-month visual checks on transformers, as a rule a mechanical test including visual check once a year, and every one to three years a combination of visual, mechanical and electrical testing.
In Germany, electrical systems must be tested according to the VdS guideline 2858 regularly, i.e. repeatedly, by the operator. Thermographic measurement methods can already be used in commissioning an electrical system, in the course of a function test, in order to determine the load placed on individual components. In addition to this, soon after a new installation, a thermographic check of the new system is recommended. The maintenance of a system after being taken back into service after repair work, as well as before the warranty runs out, is of central significance. Damaged, loose or overloaded components can thus be located, repaired or replaced. According to the thermographic image, which provides information on normal or abnormal heat distribution, components which in the long term represent weak spots or even fire risks because of their temperature qualities can also be diagnosed and kept under constant observation.
Information On Procedure And Evaluation
The maintenance of an industrial system and its components should always be carried out taking the load on the system, the ambient and production conditions as well as the relevant safety standards into account. In order to ensure the testing of a system and its components in a realistic operating situation, it should be carried out under at least roughly half the normal operating load. The focus of the test should be on connections, distributors and components with a high load. In order to observe a deterioration in the conditions, or to ensure the success of repair work, the data recorded in thermograms should be observed and compared over a longer period, if possible. In order to avoid measurement errors, attention must be paid to reflections, e. g. from shiny metal parts in electrical components, and to other falsifying factors. The correct and reliable interpretation of the data always requires a solid training and profound knowledge of thermography.
An abnormal or high heat development indicates an approaching or already existing thermal weak or damaged area. The fault source of an anomaly in the heat quality of a connection, however, can also be found in another component. It is recommended in such cases to apply other additional measurement procedures. Thermography also replaces neither necessary visual or function tests, nor electrical measurements. It does, however, provide a reliable safe and economic complement to classical measurement procedures, with unique advantages.
Summary
The testing of electrical systems in industrial businesses is of central significance, and is required by law. Due to its economic viability and reliability, thermography takes on a central role here. Regular IR measurements ensure easy and precise early recognition of weak spots and damage, as well as an increase in system availability and reliability. Severe follow-on damage, fire and accident risk can be avoided using preventive thermographic testing. Thermographic measurement methods are thus used in many different areas of application. Electrical and mechanical assemblies in production systems can be monitored using the thermographic measurement procedure. In contrast to other measurement procedures, thermography allows non-contact inspection of the system in continuing operation. Inaccessible places can be tested precisely and safely. Cost-intensive downtimes of failed machines or systems are thus securely prevented. Repair costs and follow-on damage are reduced.
Author: Daniel Auer, Head of Product Line Thermal Imaging at Testo


