Today’s manufacturers of electric vehicles are facing unprecedented challenges in quality control, due to the sheer complexity of assemblies and parts, as well as shorter production times to accelerate their time to market. Automated quality control systems are increasingly becoming a key strategy to address these challenges.
Take Walter Automobiltechnik GmbH, a renowned German part and accessory supplier for big OEMs in the automotive and motorcycle industries.
An engine mount kicks off the search for an automated quality control solution
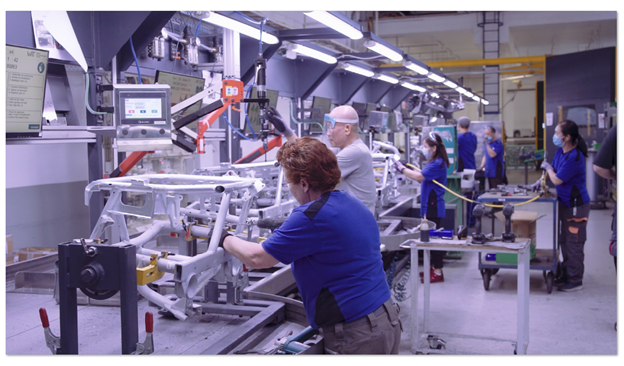
Over the past few years, skyrocketing demand from OEMs for parts to be integrated in new electric vehicles drove the company to look for an alternative inspection approach and solution to accelerate and improve its quality control. In particular, Walter Automobiltechnik wanted a solution that could replace its manual methods and traditional coordinate measurement machine for an e-car engine mount for BMW’s new fully electric Mini Cooper SE.
The e-car engine mount is a complex grid tube frame with many connection points around the periphery. Weighing 25 kg and measuring 900 x 700 x 500 mm, the mount is made of galvanized steel, which causes a reflective surface. It also features welded structural parts with complex geometries, which made them difficult and time-consuming to inspect. Because 90% of the components are not reworkable, a non-compliant mount could cause an immediate production standstill. That meant that the quality control team at Walter Automobiltechnik had to guarantee 100% measurement of the series production within a specified cycle time.
The quality control team had to spend at least 1 hour and 30 minutes to acquire measurements of each frame. Only experienced staff members were able to carry out the measurements. This inevitably caused bottlenecks at the CMM, generated lengthy computing times, and ultimately impacted the production line’s cycle time.
Creaform’s R-Series becomes the solution to improve automated quality control
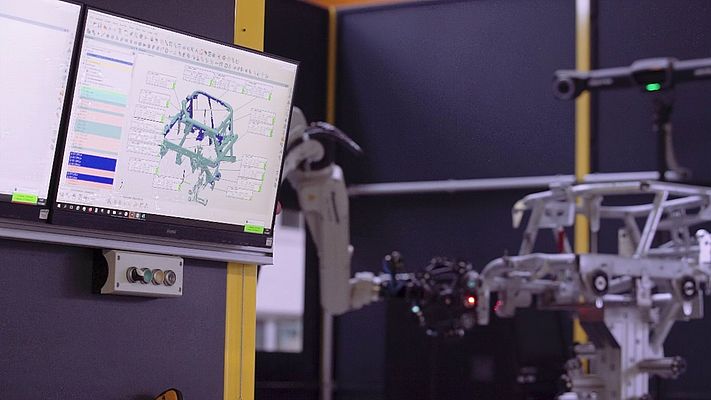
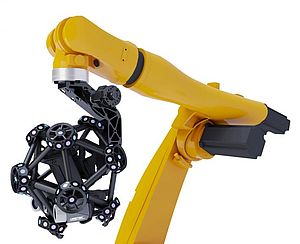
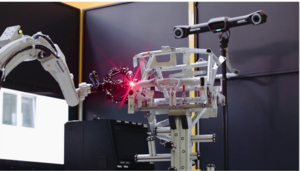
Walter Automobiltechnik turned to Creaform’s R-Series of automated quality control solutions. The company implemented a custom integration of the MetraSCAN 3D-R, a powerful robot-mounted optical scanner. Located at the end of the production line, a MetraSCAN 3D-R and C-Track optical tracker were installed in two automated industrial measuring cells to increase throughput. VXelements, Creaform’s fully integrated 3D software platform, was also chosen to carry out the inspections and quality control.
Each system is configured using a 6-axis robot with a 7th axis being a rotary table. Users manually load the part in the measuring cell and, with a barcode reader, scan the required information to start the robotized data acquisition process. Once the process is complete, a report is generated, indicating if the welded parts are good or not—and what repairs need to be made.
Because of the unique feature of dynamic referencing of both the MetraSCAN 3D-R and C-Track, metrology-grade accuracy, repeatability and reliability are not compromised, even if the measuring cell is located right on the production line in the shop floor.
Walter Automobiltechnik installed the solution in less than two weeks, which kept downtime to a minimum. Staff members, including metrology experts and non-metrology technicians were trained on the MetraSCAN 3D-R and VXelements in just one day.
The results are impressive. The MetraSCAN 3D-R now generates up to 480K measurements per second, which helped the quality control team reduce its measurement times from 1 hour 30 minutes to only 8 minutes per frame—all with an accuracy of 0.05 mm. For each frame, a measurement protocol and 3D scan are stored to ensure seamless traceability.
With the solutions’ exceptional ease of use and automated data acquisition, data accuracy—even over large measuring areas—is no longer depended on operator skill. This freed up Walter Automobiltechnik’s conventional CMM for other inspections that required tighter tolerances.
According to the Walter Automobiltechnik team, the exceptional performance of their automated quality control system for the engine mount has incited them to acquire more automated quality control solutions from Creaform for other production lines. “In the future, we think this system is a must-have in the automotive industry,” said Tommy Laukdrej, Head of Quality Management at Walter Automobiltechnik.
