Corrosion monitoring is an essential part of many industrial inspection processes – particularly in pipeline inspections. In many industries pipeline failures are associated with high costs, risk of injury or severe environmental consequences. Such inspections therefore, must be accurately performed and comply with industrial non-destructive testing standards.
For corrosion monitoring of large-scale structures ultrasound is used to analyse thickness and structure of a metal component. Ultrasound beams are generated by a piezoelectric element and transmitted to the inspected part; echoes generated by the corroded wall are then received by the same piezoelectric element (pulse-echo) or by a separate element (pitch-catch). Ultrasonic vibration is then converted into an electrical signal and acquired by the instrument. By recording travel time and sound velocity, thickness can be easily established.
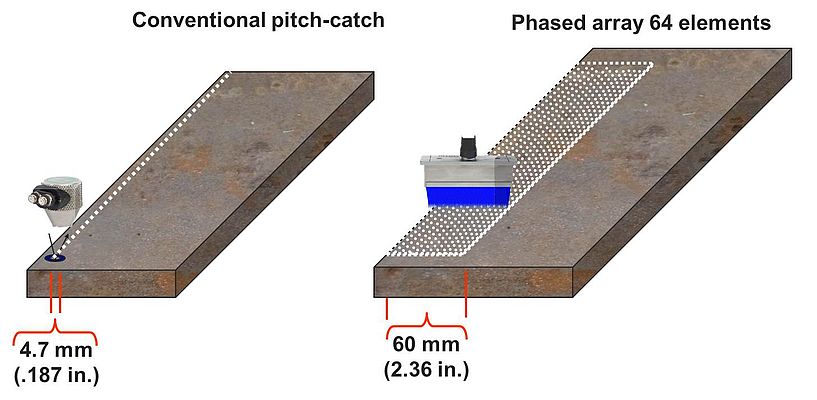
Conventional ultrasound techniques (typically pitch-catch) are only capable of measuring thickness within a limited area along a predefined grid of cells no smaller than 10x10 mm. Although wall thickness can be measured with high precision, the technique is considered time consuming with a low probability of detection. Other limitations include incomplete coverage, operator variability and inadequate data reporting and analysis.
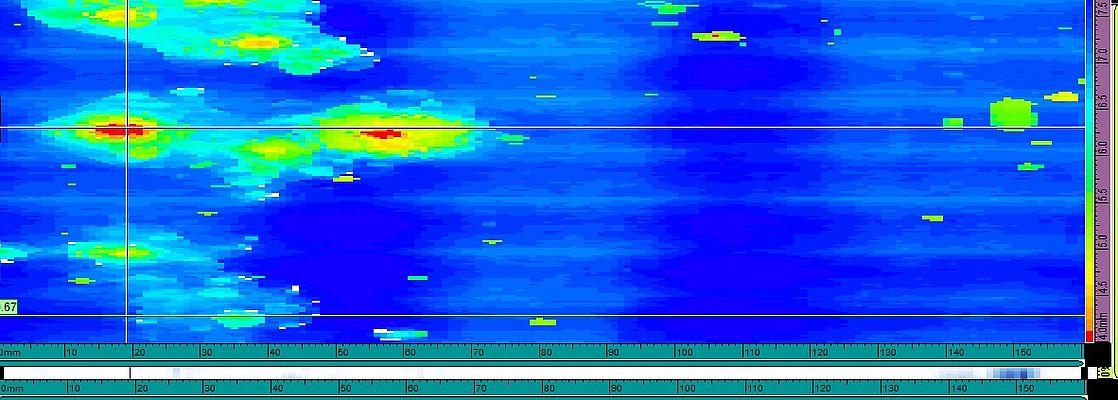
Enabling detailed inspection over large areas in a single scan, PA technology can profile a large corroded surface with 1 mm or better resolution, making it possible to detect even the smallest of corrosion or pitting areas (figure 1). The resulting high-resolution profiles allow better assessment of corrosion severity and risk of component failure, improving confidence in the inspection process and results.
A versatile array
Thickness mapping of pipelines using PA instruments is therefore well suited for several key objectives, such as validation of in-line inspections, monitoring localised problem areas and pipeline requalification. Importantly, the speed and resolution obtained by PA ensures compliance with several standards such as ASME and DNV.
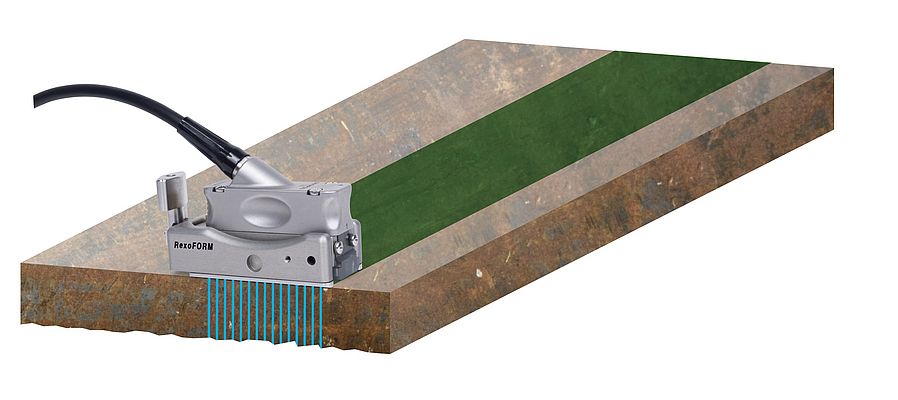
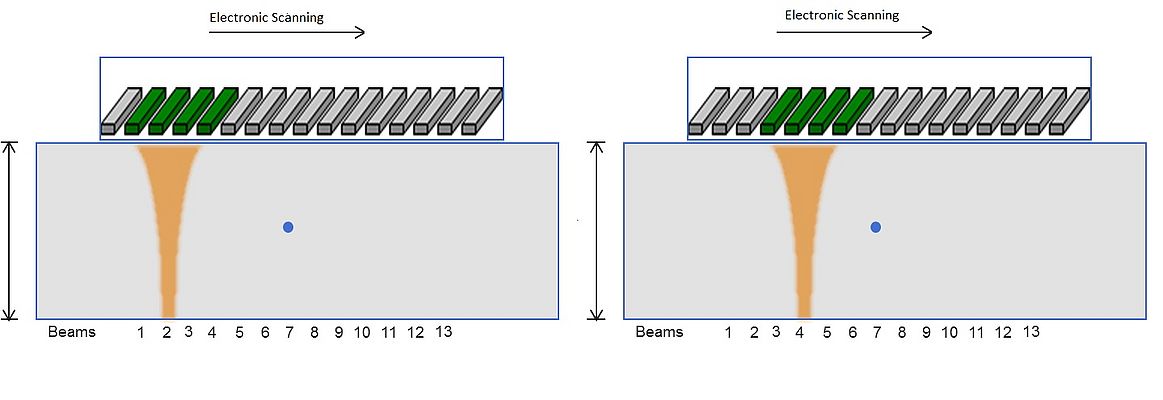
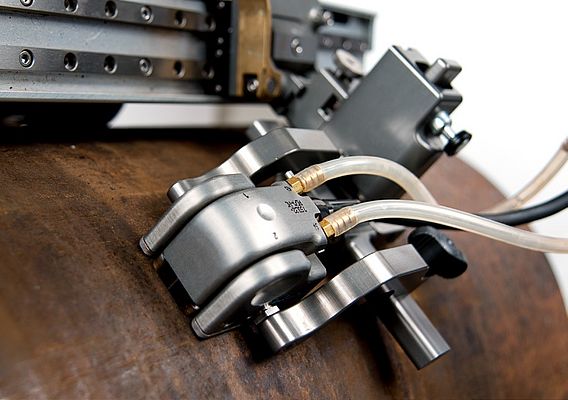
PA inspection typically uses a probe that includes a linear array of transducer elements (figure 2); the sequential activation of groups of elements allows the generated beam to cover the entire area beneath the probe. This type of scan is known as an electronic linear scan.
Strips which are 60 mm wide can be covered with a phased array probe in linear scan mode. If several strips are acquired and probe position is encoded, then a complete thickness map of the inspected structure can be generated.
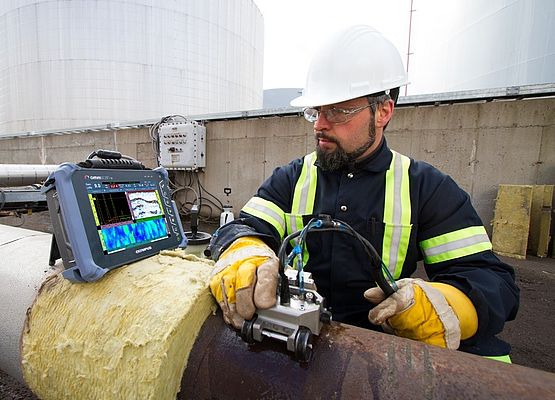
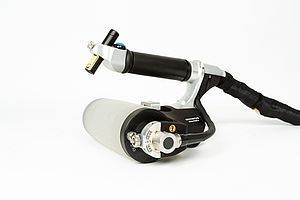
Providing a high degree of versatility depending on the type of inspection, PA testing can be performed either manually or semi-automatically using a motorised scanner for improved efficiency (figure 3). The probe can be mounted on a hard wedge, a water delay line or inside a wheel probe for fast, high-resolution corrosion mapping of extensive areas.
Fast automated inspection
Automated PA can further facilitate inspection by enabling rapid scanning of large areas. To achieve this, a motorised scanner can perform rotation scans around a pipe, using a raster arm to hold the probe in place while creating a high-resolution C-scan. After completing a full rotation, the probe moves along the arm to scan further segments of the pipe, creating a single file that combines the data from several rotations. As a result, 300 mm diameter pipes can be scanned conveniently at a speed of about 1 metre per minute; inspecting the same length of pipeline at similar resolution using conventional techniques would take around 50 times longer.
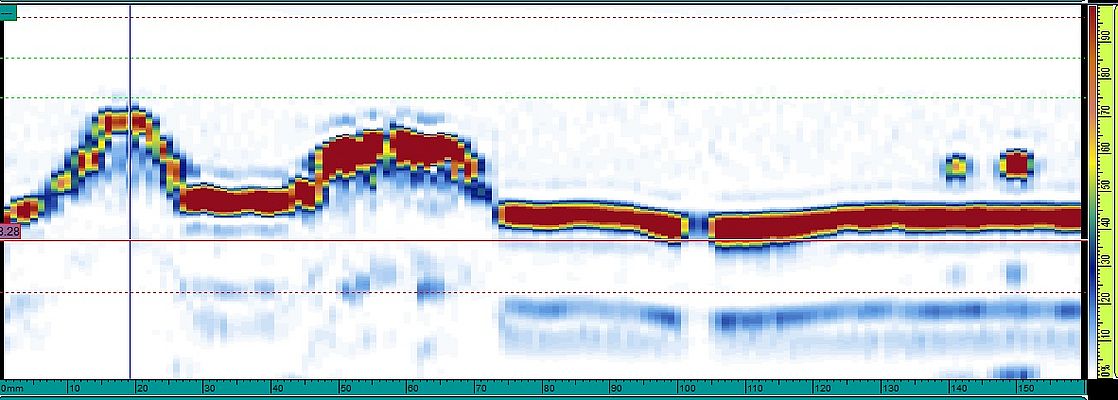
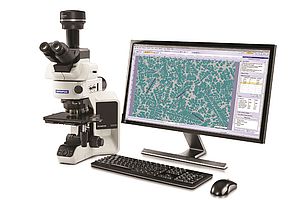
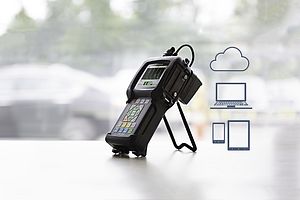
Inspection data can either be exported to a computer or analysed on-site. Both B-scan and C-scan images can be generated (figure 4), which helps to assess the type of corrosion; sudden changes in thickness can indicate corrosion pits whereas gradual changes are more likely to be caused by other corrosion types such as flow accelerated corrosion. PA analysis software such as OmniPC provide specific analytical tools that help inspectors to quickly identify, report and review affected areas, providing comprehensive data that reflects the quality of the inspection.
Accurate remaining life assessment
One of the key parameters in assessing partially corroded pipelines is their remaining life or remaining strength, according to ASME codes B31G. The mechanical properties of the material, combined with pressure and stress information, help to predict the probability of a failure. In addition, industry standards such as BS EN 14127, ASME B31G, B31G modified and DNV-RP-101, require detailed information on corrosion areas in order to ensure consistency and safety in determining remaining pipe strength and life.
Using PA technology, the large amount of data generated in C-scan thickness maps can be exported conveniently in txt format to ensure compatibility with a broad range of software packages. This allows inspectors to analyse their data quickly and calculate parameters.
Overcoming issues with flexible probes
Many linear PA probes have difficulties measuring complex components – such as elbows, bends or nozzles – of pipelines. This is due to rigid probe design which prevents adequate contact between the probe and the pipeline.
With the development of flexible array probes, the range of components that can be inspected using PA has considerably expanded. Consisting of the same number of elements as a conventional probe, flexible probes can provide data similar to regular inspections, but with the added benefit of being able to combine data from different areas of a curved surface.
PA – the technology of choice
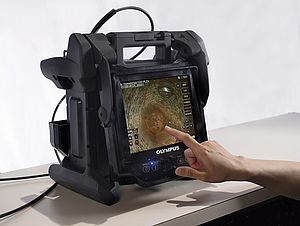
Ultrasonic phased array technology is excellently suited for fast, high-resolution corrosion mapping on different components across a wide range of industries. PA instruments, such as Olympus’ Omniscan MX2, are continuously improving to provide an intuitive, easy-to-use solution for the complexities of pipeline corrosion and safety. Using either manual or motorised PA scanners, inspectors can evaluate large areas with high precision in less time, while maintaining flexibility by being able to change probe to suit specific scans and maintain a reliable and efficient workflow.
Dr Florin Turcu Ph.D., Application Specialist at Olympus Europa SE & Co. KG
