It is generally understood that the effect of temperature will change the observed colour of a product. Even with a temperature difference of just 20°C, colour deviations of more than 2 ΔE units can occur for certain colours. This effect is known as ‘thermochromism’. Therefore, it is usually necessary to allow the product to cool before a precise colour measurement can be taken. In a drive for 100% inline inspection and reduction of product wastage to zero, a method must be developed that compensates for the effects of thermochromism. Micro-Epsilon has been working closely with SKZ, (Süddeutsche Kunststoff-Zentrum) to develop a working solution.
Tackling thermochromism with colour and temperature sensors
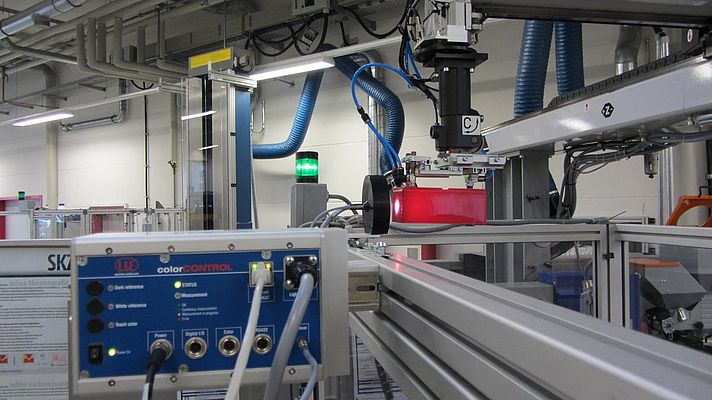
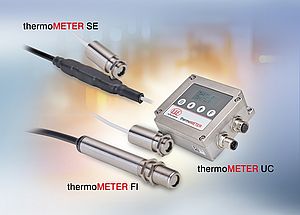
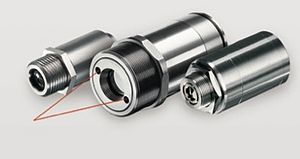
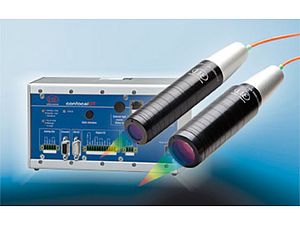
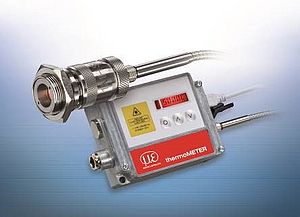
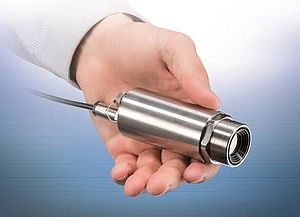
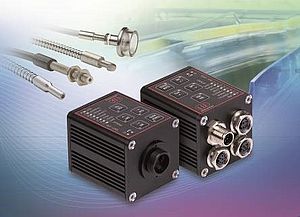
In injection moulding processes, products are normally moulded with colour pellets supplied in batches that can be supplied from different manufacturers. It is therefore essential to continually monitor precise colour values of these products to ensure that they are exact. In order to provide 100% inline control of product colour during injection moulding of plastic parts, the SKZ institute has developed and tested a method to correlate the difference in colour of an object at different temperatures – thermochromism behaviour, using colour spectrophotometers and infrared temperature sensors from Micro-Epsilon. Colour measurements carried out using a colorCONTROL ACS7000 spectrophotometer and temperature measurements using the CT series infrared temperature sensors from Micro-Epsilon, generate a master curve at several different temperature levels that describes the thermochromic behaviour of each specific colour or shade. This allows colour values measured on a warm product to be converted to the actual room temperature colour values. The pre-calculated ‘cooling curves’ are stored in the system software and allow the colour values determined during the de-moulding process (typically 60 to 80°C) to be converted into a reference temperature, for example, 20°C. This enables the colour to now be automatically checked earlier in the process, which reduces cycle times, optimises productivity and increases yield, compared to conventional sample checks.
Inline quality control and colour inspection in injection moulding
Different inspection techniques can be skilfully combined, enabling easy, flawless in-process monitoring. In injection moulding, for example, the new moldCONTROL inline thermography system and the colorCONTROL ACS7000 inline colour measurement system from Micro-Epsilon can be combined to measure and inspect during production. Here, a moulded component is conveyed directly in front of an infrared camera during the production process. Modern injection moulding systems are normally equipped with an automatic handling system for removal and storage of components. The positioning of the component in front of the camera enables a precise time window to be met when recording thermographic images. This ensures that the thermographic images from one video image to another can be compared. During automatic removal of the components, a “good/bad” component decision must be made within a short time frame. The aim here is to prevent problems that may disrupt further processing and to take any corrective measures as quickly as possible, to avoid any unnecessary additional costs.
Defect detection using thermal imaging
The moldCONTROL inline thermography system detects variations in quality by using a high speed and high resolution infrared thermal imaging camera. It records the entire component in up to six different views and examines it. The principle is simple: a thermoIMAGER TIM thermal imaging camera records the infrared radiation emanating from the mould and visualises it. The temperature distribution provides a quality statement about incorrect temperature control of the mould, malfunction of the tool temperature, visible geometry errors and hidden defects. The software displays the reference image, the IR image of the component and the difference between the two images. The identified temperature differences provide the basis for a ‘Pass/Fail’ decision. Temperature alarm limits can be freely specified using the SKZ operating software. Defective components can be sorted and removed depending on these settings.
