Modern industrial processes place high demands on optical measurement technologies. As well as increasing production speeds and a need for ease of integration with these processes, harsh operating conditions pose additional challenges. Sensor specialist Micro-Epsilon outlines the latest technical developments for a variety of industry sectors.
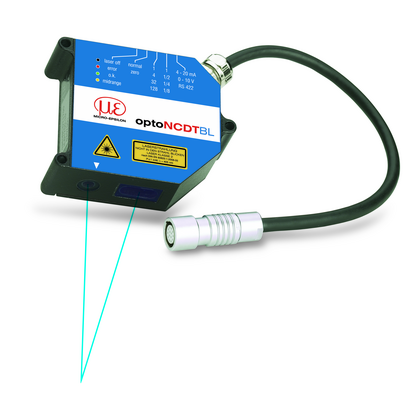
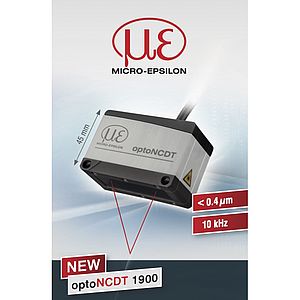
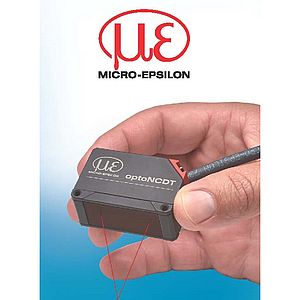
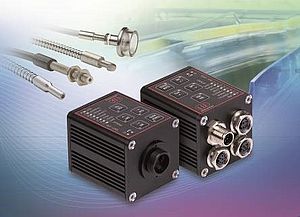
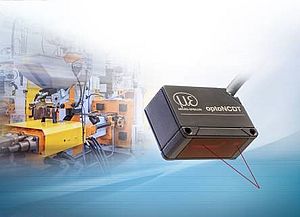
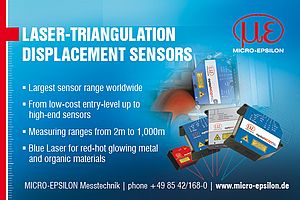
A rolling mill processes steel profiles in a reversing operation: the workpiece is passed through the universal rolls in both directions. The raw material blocks first need to be heated to a rolling temperature of approx. 1200°C. Three sets of rolls are involved in the rolling process, namely a preliminary stand with a cropping saw, a tandem intermediate mill and a finishing mill. After the still hot rods leave the last station - the finishing stand - a profile measurement unit checks their dimensions. The rod centre is measured at a material speed of up to 10 m/s. Here, standard laser triangulation sensors are typically used. The sensors perform non-contact, wear-free measurements independently of the target surface and have a small measuring spot size for the smallest of parts, providing precise measurements even for high speed production processes. However, the hot rods have a temperature of more than 1000°C. The intrinsic radiation of the incandescent objects could alter the measurement results significantly. New blue laser technology offers a solution. The optoNCDT1700-750BL triangulation sensor with a blue laser diode provides extremely reliable measurements on incandescent (red hot glowing) objects. To minimise measurement errors, the sensor's optical filters are matched to the ultraviolet colour spectrum in order to block the intrinsic radiation from incandescent steel. The high resolution ensures continuous proof of defect-free surfaces. The wide measuring range means that no elaborate sensor adjustments for new rolled products are required - one sensor works for all profile depths. The optoNCDT1700-750BL has an integrated controller. Blue laser sensors in the optoNCDT 1700BL series are designed for high speed displacement, distance and position measurements. The blue laser helps to achieve high precision for measurements on organic materials, such as veneers, wood or skin. The short wavelength blue-violet laser prevents light from penetrating the measurement object, and the light is much more stable.
Measuring fluid levels in potentially explosive atmospheres
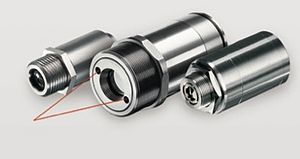
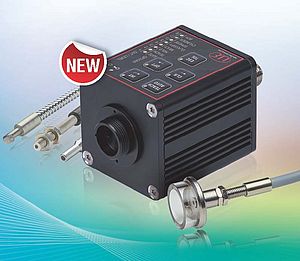
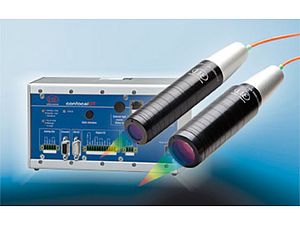
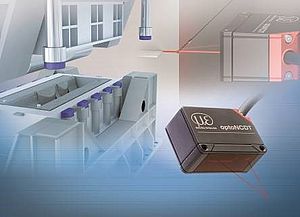
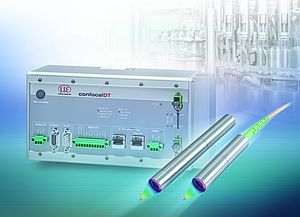
In capacitor production, blanks are dipped into a solvent bath. In order to ensure constant quality levels, the blanks must be immersed precisely in accordance with the specification, which requires that the liquid level remains at a defined height. For this task, conventional laser triangulation sensors rely on a complex system structure that requires complex adjustments. Any wave motions would disrupt the measurement signal and make it unusable for further evaluations. A confocalDT confocal-chromatic displacement sensor is used to compensate for these variations. The sensor is ideal due to its extremely high precision - at a measuring range of 24mm, the accuracy is 10µm. The system performs measurements directly on the reflecting surface of the solvent. A conduit with a sealing ring around the sensor and an O-ring at the lenses are used to prevent the ingress of explosive vapours. In addition, the conduit is continuously heated externally to prevent condensation on the lenses. In combination with an accurately defined immersion depth, this ensures that the individual components comply with defined quality criteria, such as durability or short-circuit safety.
Photovoltaic thermography from the air
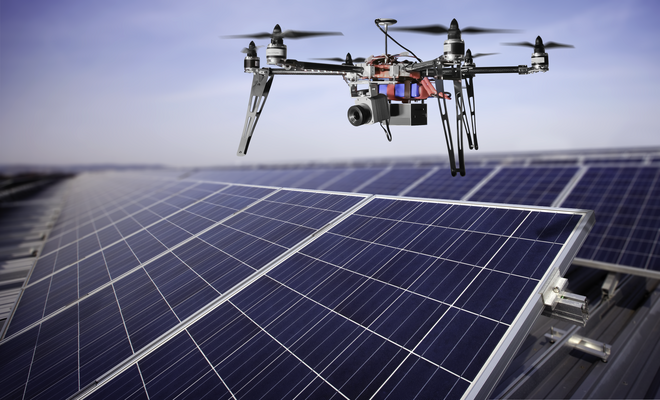
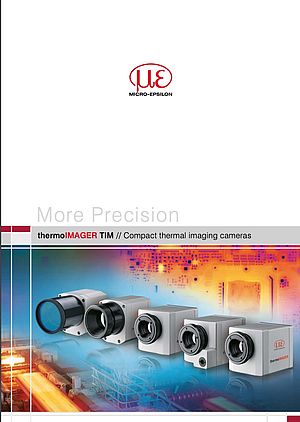
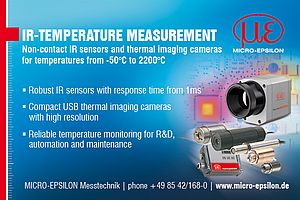
Defective solar cells can destroy an entire module. Thermography is an ideal method of preventative maintenance of photovoltaic/solar panel installations: noticeable differences in temperature are used to reliably detect electrical and mechanical faults, as well as installation and processing-related defects, including short circuits, inactive cells, moisture or poorly soldered joints. As part of regular maintenance operations, thermography can provide valuable information for resolving warranty claims. Inspections using infrared cameras are carried out in a non-contact, non-destructive manner from a safe distance. However, there are a number of prerequisites for using an IR camera as part of aerial operations, including low weight, autonomous control, and sufficient camera resolution to ensure high-quality IR images. The thermoIMAGER TIM LightWeight ultra-light infrared camera is designed specifically for use with multicopters. The system includes a 350g lightweight thermal imaging camera and an industrial mini PC. Video recording can be started directly via a button on the camera housing. The recording is saved to a microSD storage card in the mini PC. The high-resolution infrared camera offers an optical resolution of 382x288 pixels, with a thermal resolution of up to 40mK.
Quality control in railway sleeper production
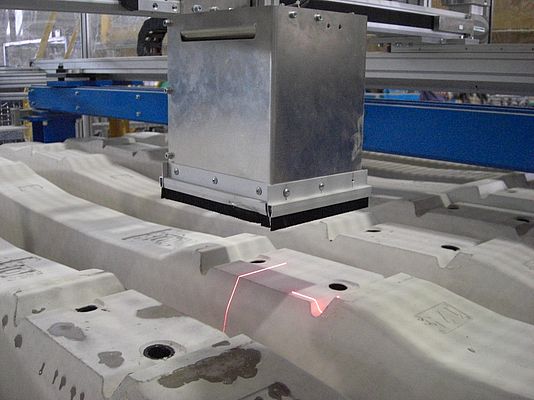
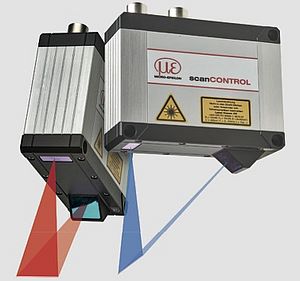
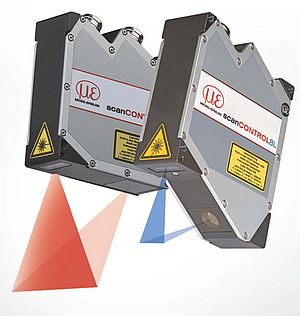
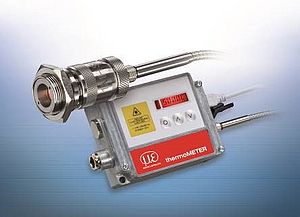
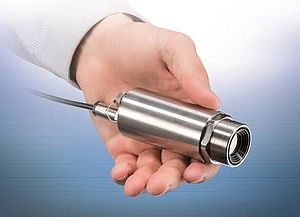
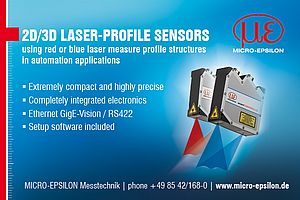
The production of pre-stressed concrete involves aggressive dust and extreme temperature fluctuations. Any measurement system operating in this kind of environment must therefore be robust and provide high measurement precision, as well as extremely high measurement speeds. This is why several 3D measurement systems with optical sensors are used to check the quality of sleepers in production. The systems include a portal that is fitted to a forming station above the conveyor. Two scanCONTROL LLT2800-100 laser profile sensors travel along the portal axes and scan the sleepers from above. Special purpose software is used to transform data into 3D images in real-time and for calculating the specified measurement values. The measurement data for the sleepers is linked to the relevant metal mould and stored in a database, together with sleeper type, mould number and date. To protect the laser profile sensors from the harsh production environment, the sensors are enclosed in a shatterproof housing. In addition, thermoMETER CSmicro non-contact temperature sensors monitor the sleepers' surface temperature during production. The measuring system achieves 100% quality control in production, reduces production losses and can provide continuous documentation of measured values.
